[原创] IdentityServer4权限控制---客户端授权模式之IDS4认证服务器搭建(二)
今天我们的实验任务主要是搭建一台IDS4用户认证服务器,来对我们的资源服务器(API接口服务器)的资源进行保护,开始的前提是你得有一台资源服务器,以方便后面的测试,如果还没有,请参看这篇文章搭建:
使用客户端凭证保护API资源:[原创] IdentityServer4权限控制---客户端授权模式之API服务器搭建(一)
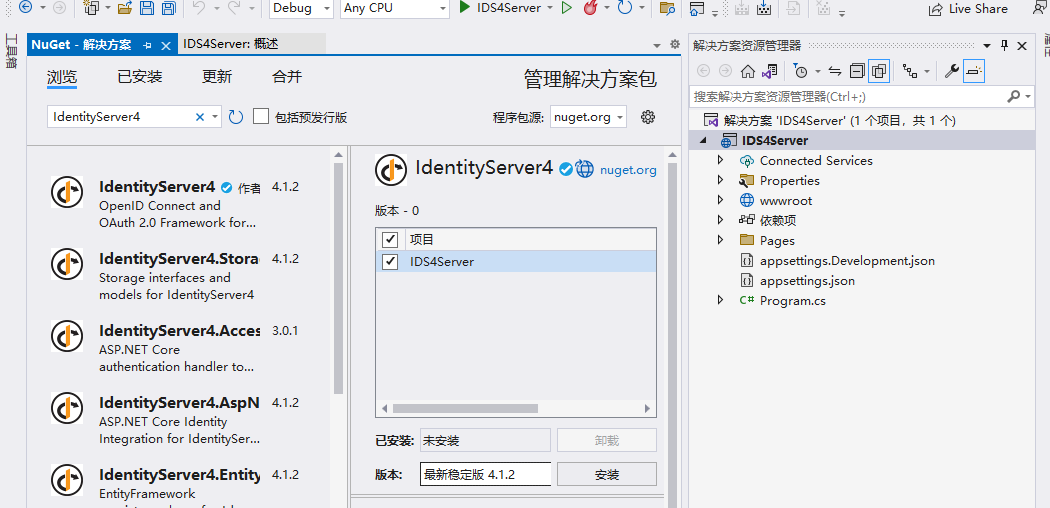
废话不多说,开始我们的正文吧。我们在电脑建立以下目录D:\WEB\ID4\IDS4Server,然后创建我们的IDS4服务器,和上次的步骤差不多,我们用VS新建一个项目,选择“ASP.NET Core WEB应用”,然后下一步,项目名称指定为:IDS4Server,位置指定为:D:\WEB\ID4\IDS4Server\,其它默认。选择.NET 6.0 ,配置HTTPS打勾。一路下来,我们的项目就创建好了。现在我们引入最关键的IdentityServer4包。
当我们启动它的时候是VS模板的默认样式,我们给它稍微改一下View样式
@{
    ViewData["Title"] = "IdentityServer4";
}

<div class="text-center">
    <h1 class="display-4">IdentityServer4</h1>
    <br />
    <br />
    <p>身份认证服务器正在运行....</p>
</div>
再删除布局页的头和尾,这一步省略,大家自己修改,不是难事。接下来我们再将引入的包加载起来。打开program.cs,修改代码如下:
using IdentityServer4.Models;
using Microsoft.AspNetCore.Builder;
using Microsoft.Extensions.DependencyInjection;
using System;
using IDS4Server;

var builder = WebApplication.CreateBuilder(args);

// Add services to the container.
builder.Services.AddRazorPages();

builder.Services.AddIdentityServer()
    .AddDeveloperSigningCredential()        //This is for dev only scenarios when you don’t have a certificate to use.
    .AddInMemoryApiScopes(Config.ApiScopes)
    .AddInMemoryClients(Config.Clients);

var app = builder.Build();

// Configure the HTTP request pipeline.
if (!app.Environment.IsDevelopment())
{
    app.UseExceptionHandler("/Error");
    // The default HSTS value is 30 days. You may want to change this for production scenarios, see https://aka.ms/aspnetcore-hsts.
    app.UseHsts();
}

app.UseHttpsRedirection();
app.UseStaticFiles();

app.UseRouting();

app.UseAuthorization();

app.UseDeveloperExceptionPage();
app.UseIdentityServer();

app.MapRazorPages();

app.Run();
编译器有红色提示,然后项目中加入Config.cs ,代码如下:
// Copyright (c) Brock Allen & Dominick Baier. All rights reserved.
// Licensed under the Apache License, Version 2.0. See LICENSE in the project root for license information.


using IdentityServer4.Models;
using System.Collections.Generic;

namespace IDS4Server
{
    public static class Config
    {
        public static IEnumerable<ApiScope> ApiScopes =>
        new List<ApiScope>
        {
            new ApiScope("api1", "My API")
        };

        public static IEnumerable<Client> Clients =>
        new List<Client>
        {
            new Client
            {
                ClientId = "client",

                // no interactive user, use the clientid/secret for authentication
                AllowedGrantTypes = GrantTypes.ClientCredentials,

                // secret for authentication
                ClientSecrets =
                {
                    new Secret("secret".Sha256())
                },

                // scopes that client has access to
                AllowedScopes = { "api1" }
            }
        };
    }
}
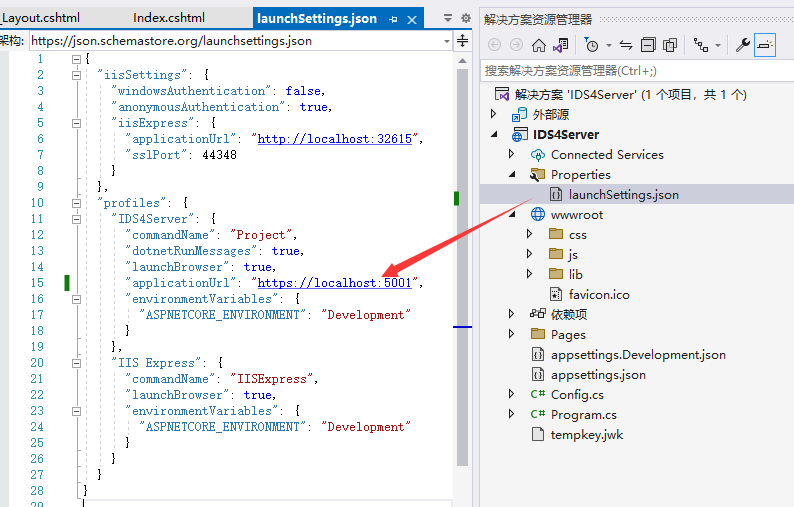
按照官网的理解,我们是在认证服务器上添加了一个与真实客户端想对应的认证记录,因为是演示程序,所以这里是全部加载到服务器内存中了,真实环境下肯定是用数据库永久化储存来代替的,这些都不是今天的学习任务,我们的目标主要是将认证服务器搭建起来。别忘记,我们再把认证服务器的启动端口改一下,最终项目结构如下图所示:
然后我们运行一下看看
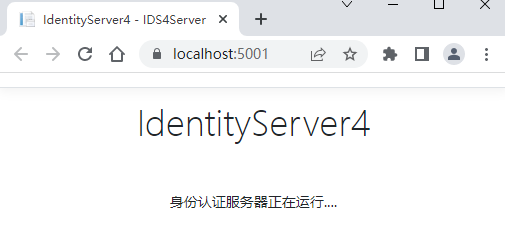
注意,大家如果运行的是官方的demo,这一步启动以后是没有界面的,但是这并不代表你的部署失败了,我们可以用这个方法检查一下,就是在后面跟一堆网址,如下:https://localhost:5001/.well-known/openid-configuration 这样,如果能看到返回的页面,说明服务已经正常运行没问题了。OK,我们这节课的内容相对比较简单,源代码这里下载: IdentityServer4
总结一下:我们第一节课搭建了一个含有三个API接口的服务器,当有客户端要访问接口资源的时候,我们需要TOKEN去验证客户身份,验证是JWT方式进行的,并且在资源服务器上指定了远程验证的地址,也就是这节课我们搭建的IDS4验证服务器。这两步都准备好了,我们下一节课就准备一个客户端程序Client.exe 去访问一下我们的API资源,模拟未登录和登录状态下对资源的访问,以及验证过程,达到资源保护的目的。感谢你耐着性子看到这里,如果你还没有准备关电脑,就请接着看我们的第三课:
[原创] IdentityServer4权限控制---客户端创建、获取TOKEN及访问API资源(三)
原创文章,转载请注明出处:https://www.qhwins.com/article-28